들어가며
데이터 준비
그 전에, 여러마리 포켓몬들을 화면에 그리려면 데이터가 필요하겠죠? 총 여섯마리 포켓몬의 이름과 속성, 이미지 URL를 복사해서 코드에 붙여넣고, 기존에 pokemon 변수는 지워주겠습니다.
pokemons = [
    {
        "name": "피카츄",
        "types": ["전기"],
        "image_url": "https://storage.googleapis.com/firstpenguine-coding-school/pokemons/pikachu.webp"
    },
    {
        "name": "누오",
        "types": ["물", "땅"],
        "image_url": "https://storage.googleapis.com/firstpenguine-coding-school/pokemons/nuo.webp",
    },
    {
        "name": "갸라도스",
        "types": ["물", "비행"],
        "image_url": "https://storage.googleapis.com/firstpenguine-coding-school/pokemons/garados.webp",
    },
    {
        "name": "개굴닌자",
        "types": ["물", "악"],
        "image_url": "https://storage.googleapis.com/firstpenguine-coding-school/pokemons/frogninja.webp"
    },
    {
        "name": "루카리오",
        "types": ["격투", "강철"],
        "image_url": "https://storage.googleapis.com/firstpenguine-coding-school/pokemons/lukario.webp"
    },
    {
        "name": "에이스번",
        "types": ["불꽃"],
        "image_url": "https://storage.googleapis.com/firstpenguine-coding-school/pokemons/acebun.webp"
    },
]
streamlit columns
streamlit columns는 화면을 내가 원하는 비율대로 나눠서 위젯을 배치할 수 있는 기능입니다. 공식 문서에 코드 사용법과 예시 화면이 나와있습니다.
streamlit columns 문서: https://docs.streamlit.io/library/api-reference/layout/st.columns

이를 응용해서 여러마리의 포켓몬들을 화면에 그려보겠습니다.
st.columns를 이용한 화면 구성
먼저 컬럼 세개를 만들고, 그 중 첫번째 컬럼에만 포켓몬을 그려보겠습니다.
col1, col2, col3 = st.columns(3)
with col1:
    pokemon = pokemons[0]
    with st.expander(label=pokemon['name'], expanded=True):
        st.image(pokemon["image_url"])
        emoji_types = [f"{type_emoji_dict[x]} {x}" for x in pokemon["types"]]
        st.text(" / ".join(emoji_types))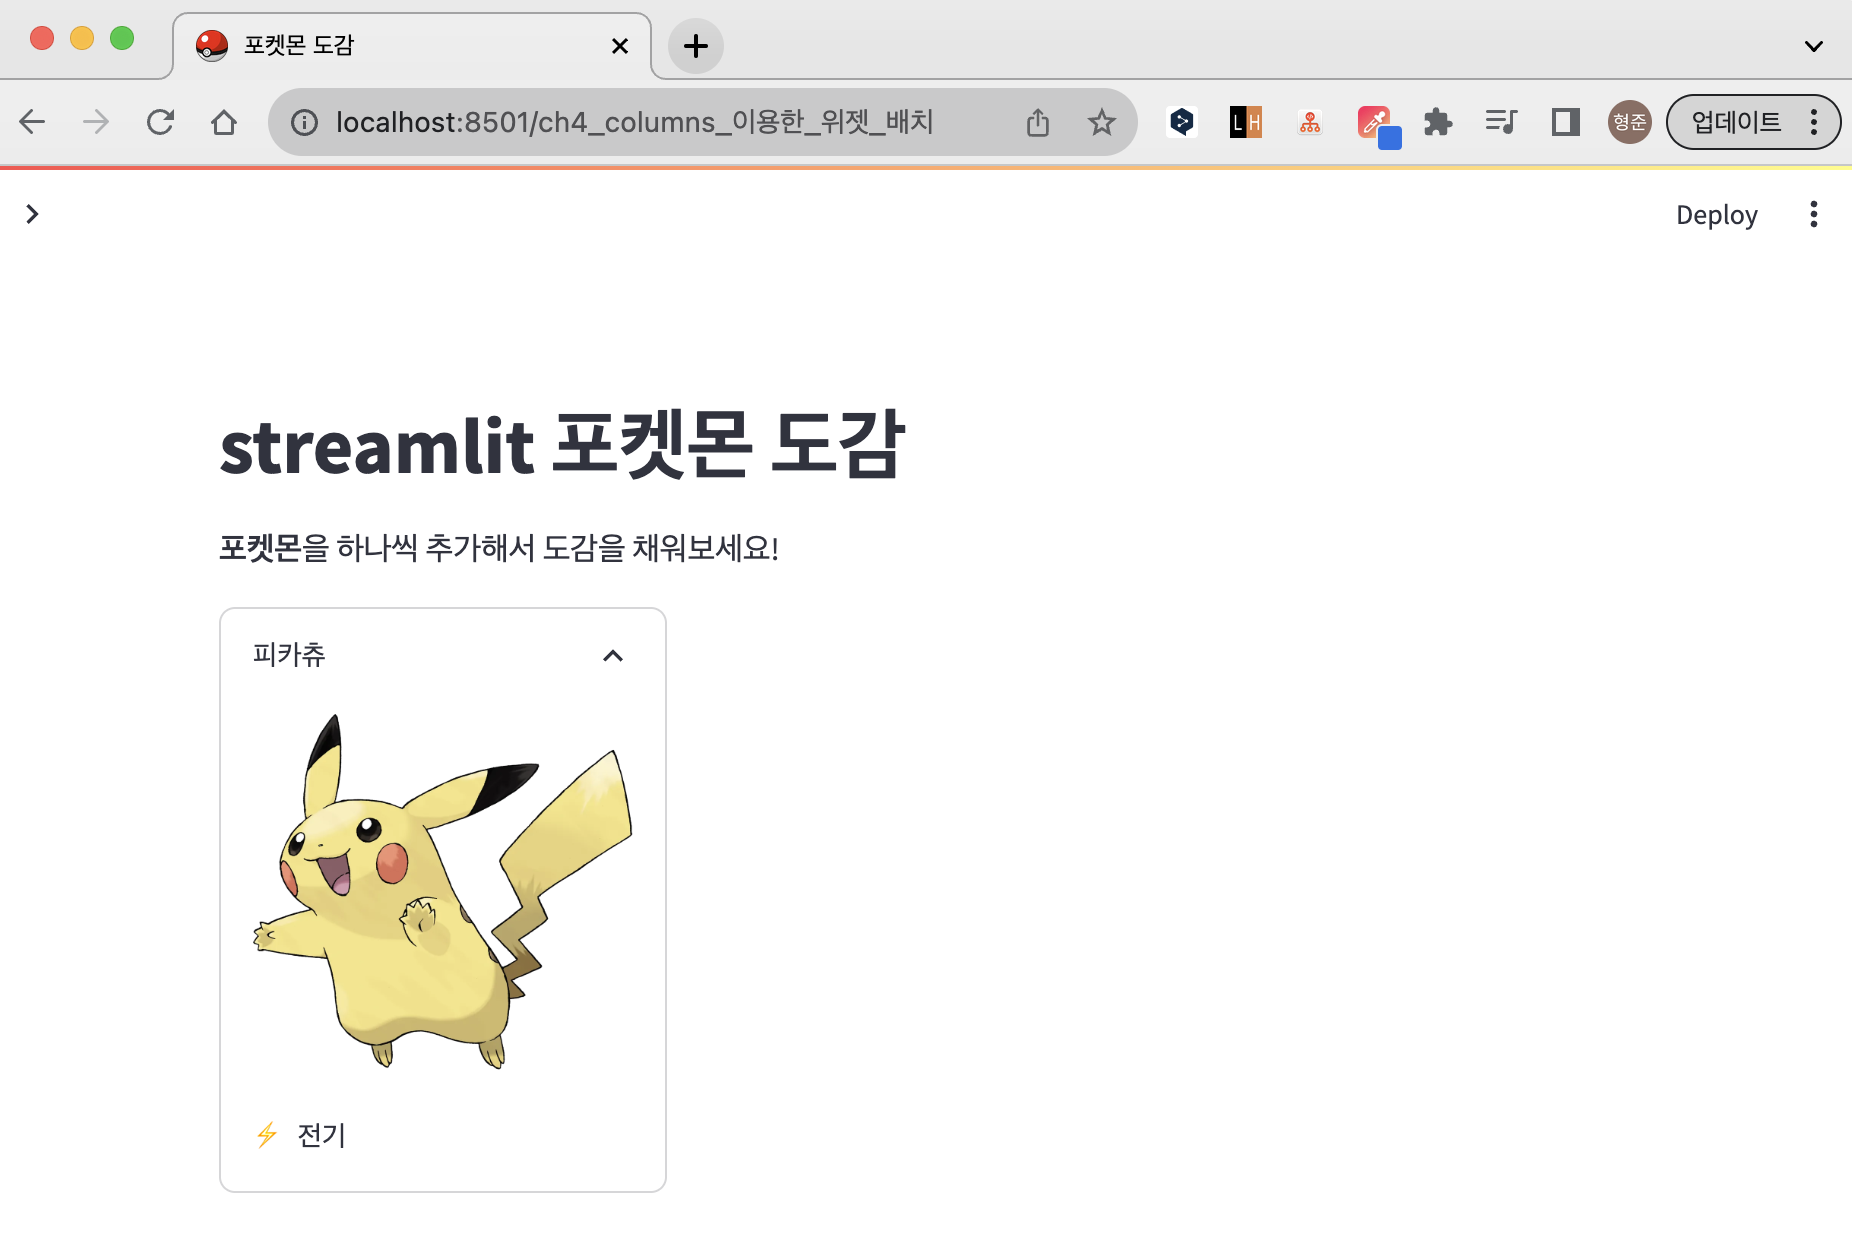
화면을 3등분해서 그 중 첫번째 공간에 포켓몬을 그렸습니다. 나머지 두 공간에도 비슷하게 코드를 복사해서 붙여넣으면 아래처럼 화면을 그릴 수 있습니다.
col1, col2, col3 = st.columns(3)
with col1:
    pokemon = pokemons[0]
    with st.expander(label=pokemon['name'], expanded=True):
        st.image(pokemon["image_url"])
        emoji_types = [f"{type_emoji_dict[x]} {x}" for x in pokemon["types"]]
        st.text(" / ".join(emoji_types))
with col2:
    pokemon = pokemons[1]
    with st.expander(label=pokemon['name'], expanded=True):
        st.image(pokemon["image_url"])
        emoji_types = [f"{type_emoji_dict[x]} {x}" for x in pokemon["types"]]
        st.text(" / ".join(emoji_types))
with col3:
    pokemon = pokemons[2]
    with st.expander(label=pokemon['name'], expanded=True):
        st.image(pokemon["image_url"])
        emoji_types = [f"{type_emoji_dict[x]} {x}" for x in pokemon["types"]]
        st.text(" / ".join(emoji_types))
코드의 중복이 많으므로 for문을 이용해서 간결하게 표현하겠습니다.
cols = st.columns(3)
for i in range(3):
    pokemon = pokemons[i]
    with cols[i]:
        with st.expander(label=pokemon['name'], expanded=True):
            st.image(pokemon["image_url"])
            emoji_types = [f"{type_emoji_dict[x]} {x}" for x in pokemon["types"]]
            st.text(" / ".join(emoji_types))
그려야하는 포켓몬은 총 여섯마리입니다. modulo 함수를 이용해서 여섯마리 포켓몬을 모두 화면에 그려보겠습니다. expander의 라벨에 포켓몬별 번호도 추가하겠습니다.
cols = st.columns(3)
for i in range(len(pokemons)):
    pokemon = pokemons[i]
    with cols[i % 3]:
        with st.expander(label=f"pokemon['name']", expanded=True):
            st.image(pokemon["image_url"])
            emoji_types = [f"{type_emoji_dict[x]} {x}" for x in pokemon["types"]]
            st.text(" / ".join(emoji_types))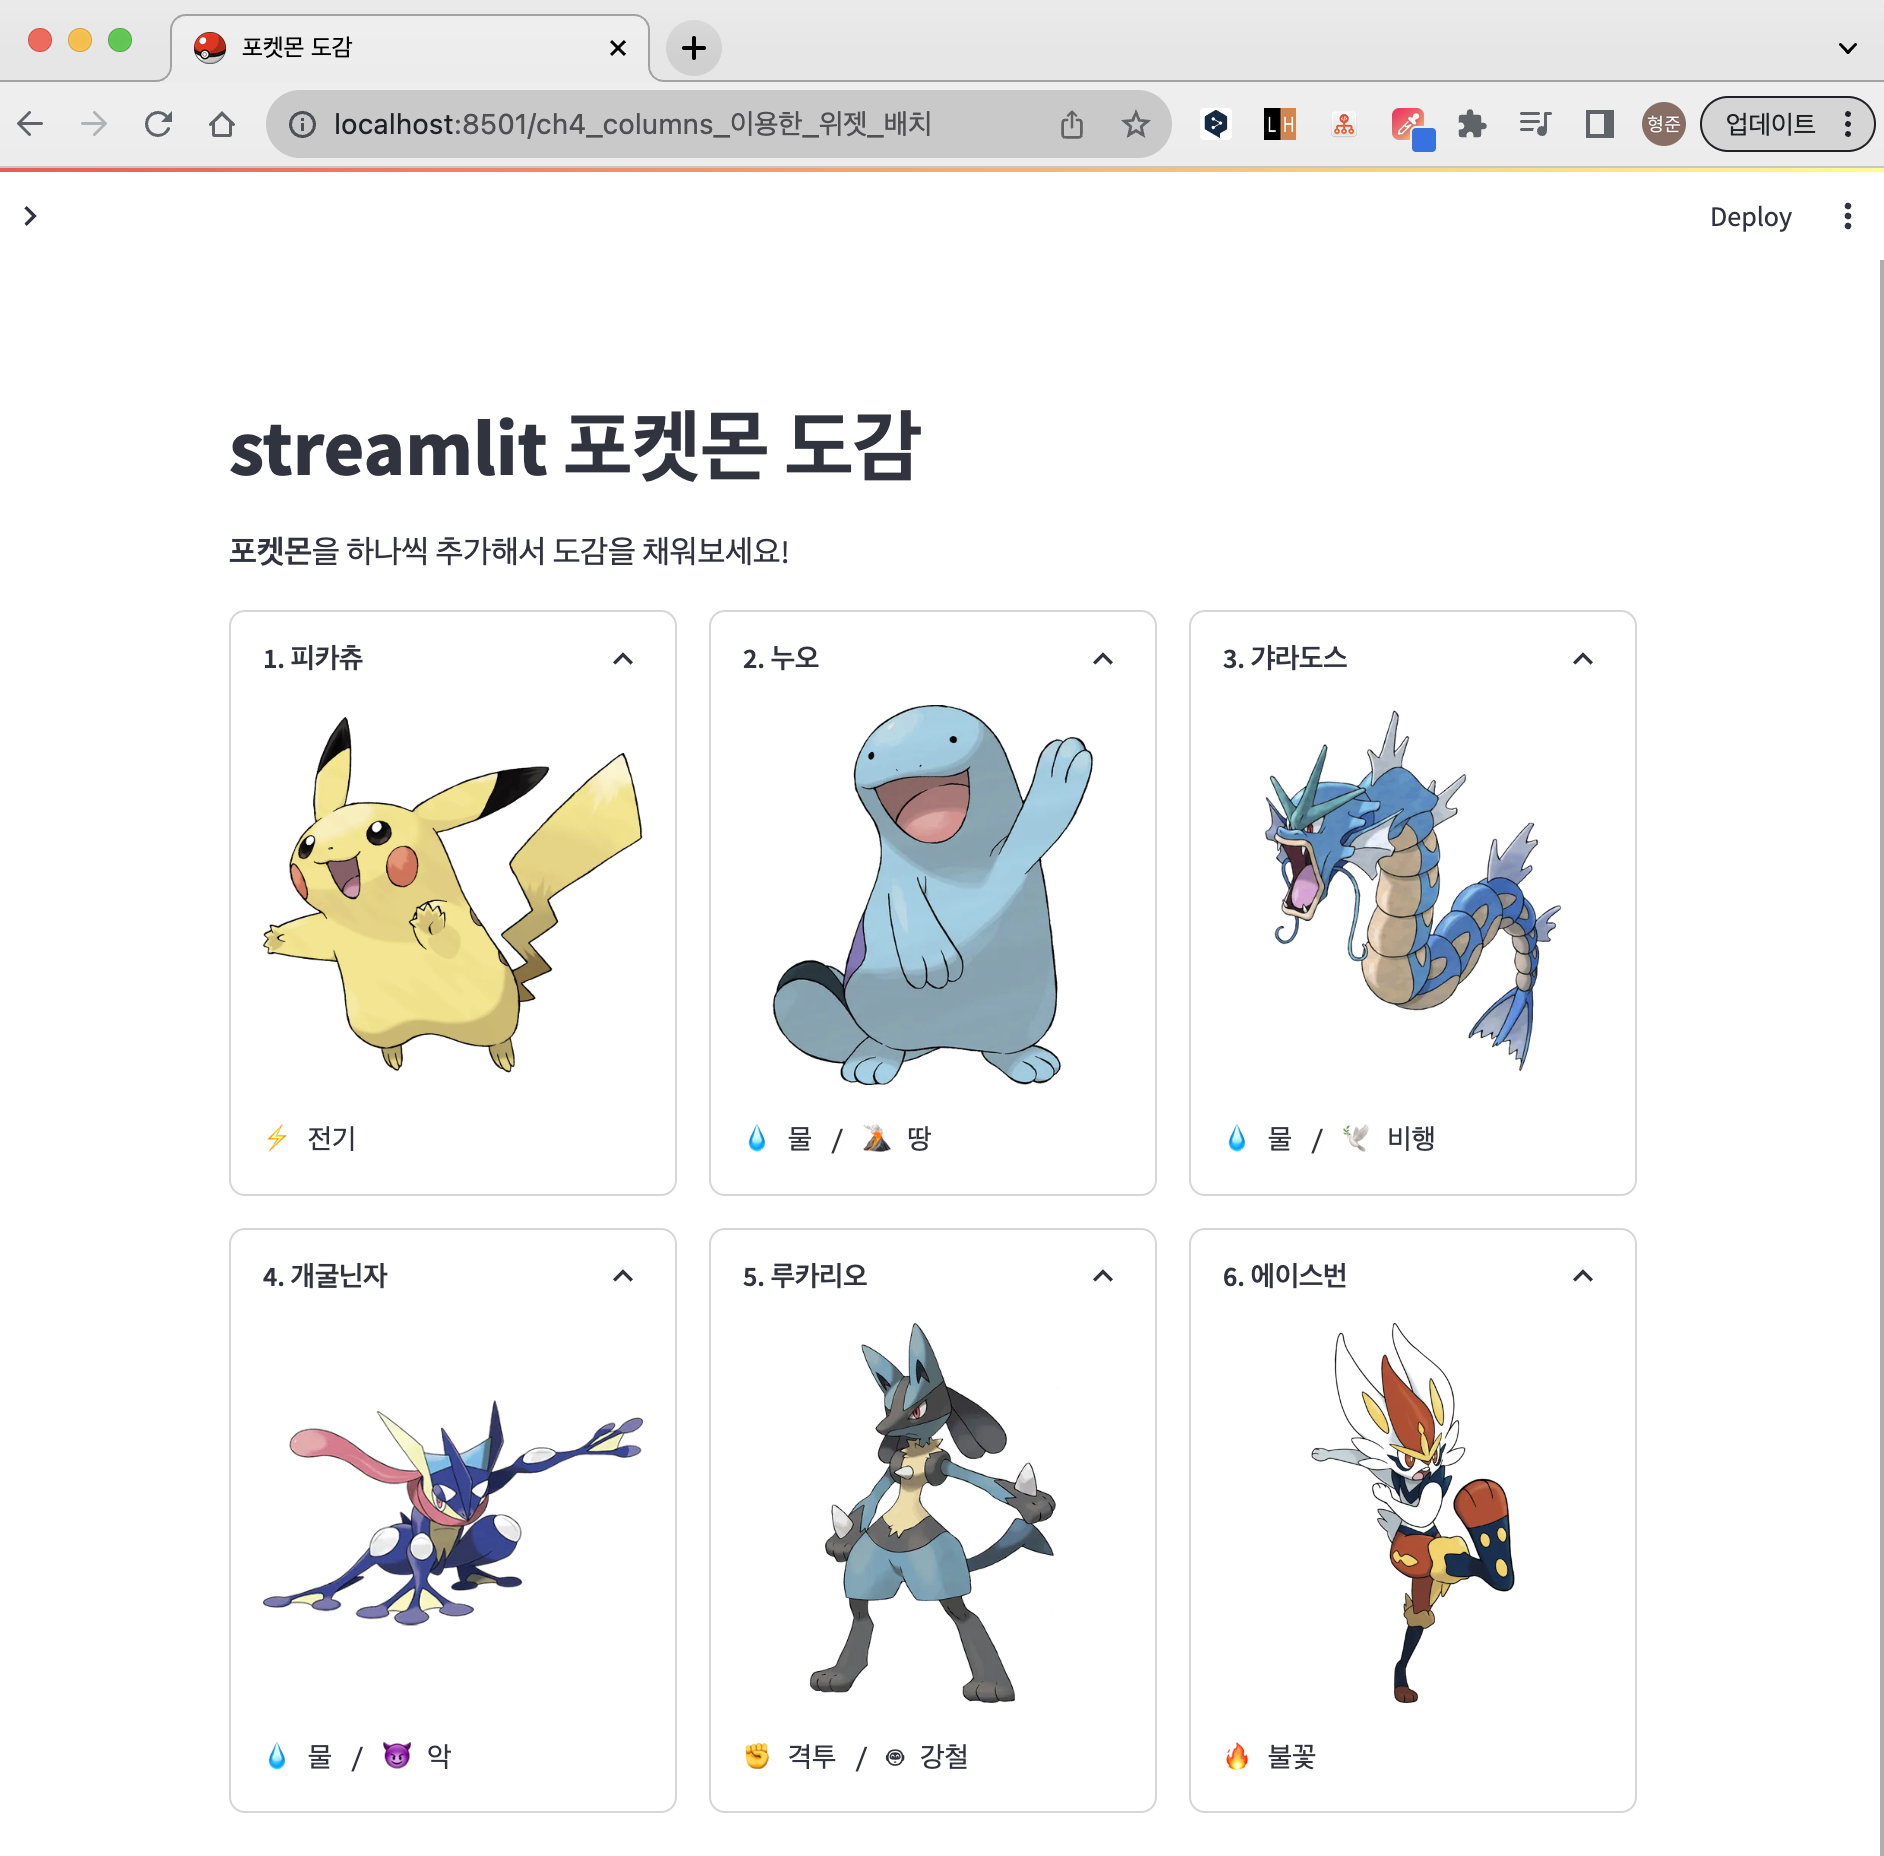
st.columns 반응형 UI 구성
화면의 크기가 일정한 수준 이하로 작아지면, columns가 무너지면서 하나의 컬럼만 보여지게 됩니다.
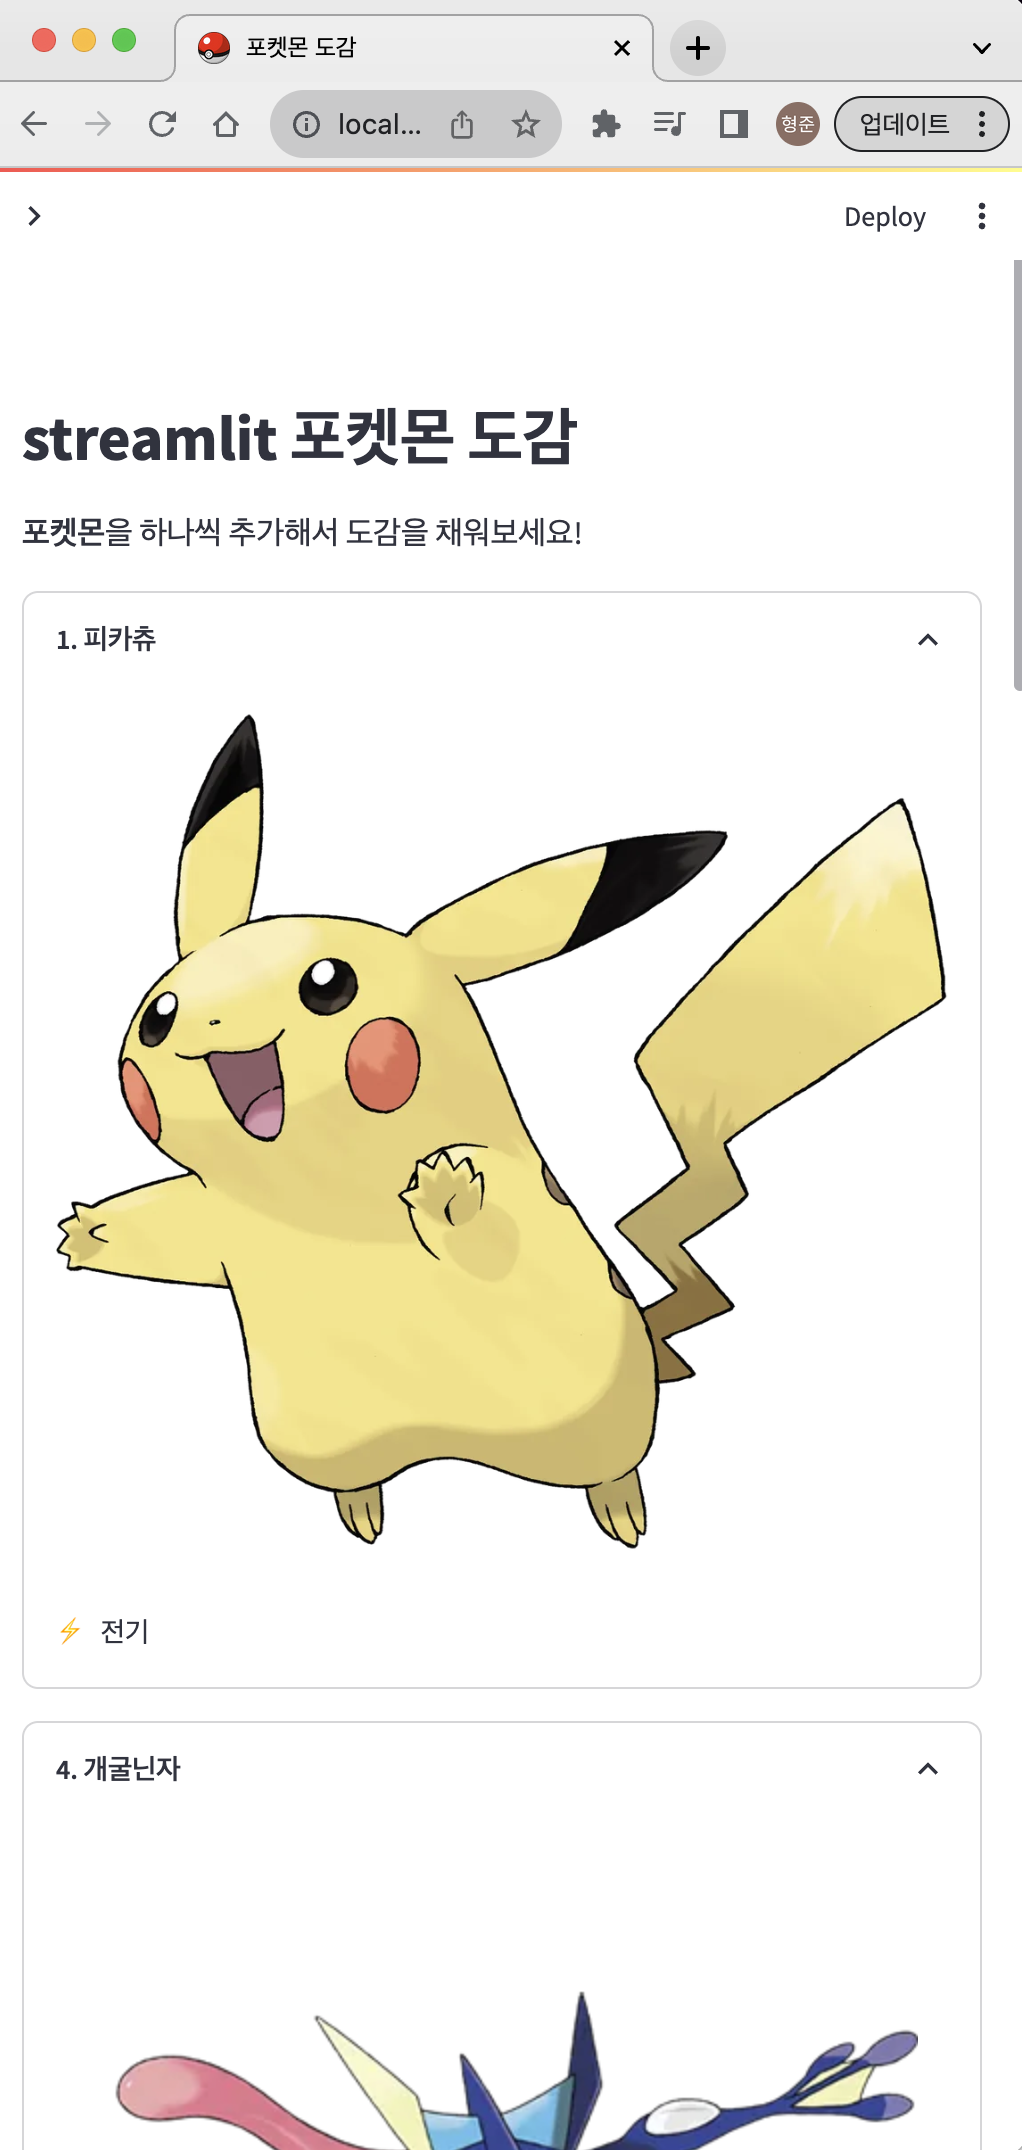
그런데 1번 피카츄 다음에 4번 개굴닌자가 왔습니다. 이는 피카츄와 개굴닌자를 같은 컬럼에 그렸기 때문입니다. for문을 한번 더 추가해서 각 줄별로 column을 새로 만든 뒤, 포켓몬을 그리도록 수정해보겠습니다.
for i in range(0, len(pokemons), 3):
    row_pokemons = pokemons[i:i+3]
    cols = st.columns(3)
    for j in range(len(row_pokemons)):
        with cols[j]:
            pokemon = row_pokemons[j]
            with st.expander(label=f"**{i+j+1}. {pokemon['name']}**", expanded=True):
                st.image(pokemon["image_url"])
                emoji_types = [f"{type_emoji_dict[x]} {x}" for x in pokemon["types"]]
                st.text(" / ".join(emoji_types))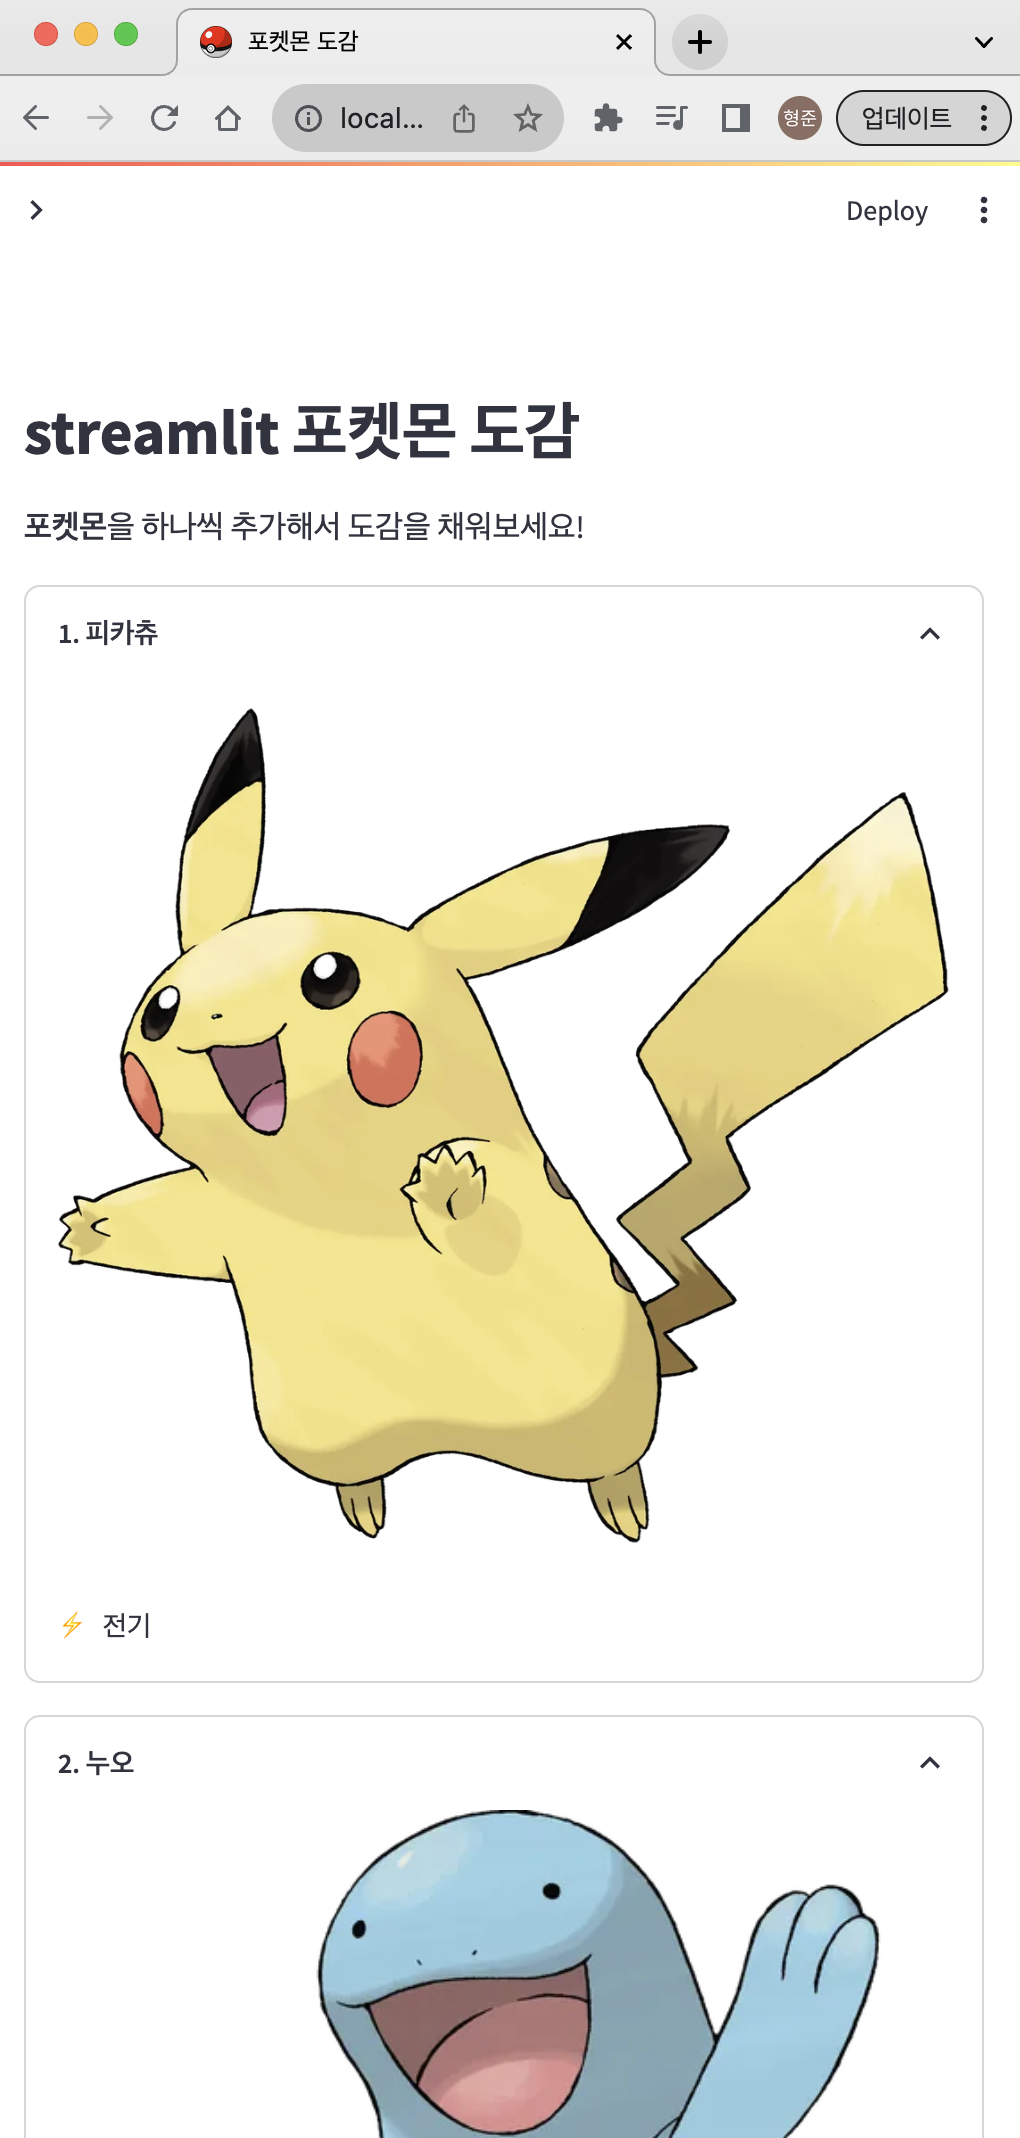
수정한 결과 1번 피카츄 다음 2번 누오가 오는걸 확인할 수 있습니다.
정리
이번 챕터에서는 streamlit columns를 이용해서 화면을 비율대로 나누고 위젯들을 배치해보았습니다. 그리고 반응형 UI를 고려하여 코드를 수정해보았습니다. 다음 챕터에서는 form을 이용해서 유저의 입력을 받고, 데이터를 추가하는 기능을 구현해보겠습니다.
'교육과정 > streamlit 웹개발 한번에 끝내기' 카테고리의 다른 글
| [6] streamlit session state (0) | 2023.10.23 |
|---|---|
| [5] streamlit form으로 데이터 추가하기 (0) | 2023.10.23 |
| [3] streamlit 기본 위젯 사용법 (0) | 2023.10.23 |
| [2] streamlit 개발환경 셋팅 (0) | 2023.10.23 |
| [1] streamlit 소개 및 장단점 (0) | 2023.10.23 |